Pineapple Coconut Cashew Rice

Pineapple-coconut-cashew-rice-main1

Sweet, slightly creamy Hawaiian Pineapple Coconut Cashew Rice cooked in pineapple juice, crushed pineapple and coconut milk, brightened by cilantro, lime and roasted cashews  – HEAVENLY!   An easy side for any main dish and impressive enough for company.
click here: http://www.carlsbadcravings.com/pineapple-coconut-cashew-rice/

Hawaiian Wedding Cake Recipe

Image

Hawaiian Wedding Cake Recipe


Yield: 12 to 15 servings

We’re delighted that this Hawaiian wedding cake recipe, which uses pineapple as its main ingredient, made its way to New England. It’s quick, easy, and absolutely delicious — great for a party. The cake itself is so moist and full of flavor that it would be almost as good without the frosting. 

Ingredients:

Cake:
2 cups all-purpose white flour
1-1/2 cups white sugar
1 cup unsweetened coconut
2 teaspoons baking soda
1 can (20 ounces) crushed pineapple, with juice (do not drain)
2 eggs, beaten
1 cup chopped nuts

Frosting:
1/2 cup (1 stick) butter or margarine, at room temperature
1 package (8 ounces) cream cheese, at room temperature
1-1/2 cups confectioners’ sugar
2 teaspoons vanilla extract

Instructions:

Preheat the oven to 350 degrees F. Grease a 9-inch by 13-inch baking pan.

To make the cake, sift the flour and soda into a large mixing bowl. Add the remaining ingredients and mix by hand. Pour into the baking pan.

Bake for 45 minutes or until a tester inserted near the center comes out clean. Cool completely.

To make the frosting, combine all the ingredients and beat until smooth. Once cake has cooled completely , smooth frosting over the Hawaiian Wedding Cake and top with a cherry, if desired.

http://www.yankeemagazine.com/recipe/hawaiian-wedding-cake

HOMEMADE COCONUT MILK

Image


Homemade Coconut Milk

Servings: 1
Preparation time: 10 minutes

Ingredients:

  1. In a medium-size kettle, heat the water, but do not bring it to a boil.
  2. Place the coconut in a blender and add 1 cup of the hot water.
  3. Blend for 2-3 minutes.
  4. Place a colander in a bowl and line the colander with 4 thicknesses of cheesecloth.
  5. Pour the blended coconut mixture into the cheesecloth and twist to extract the milk, letting the milk go into the bowl.
  6. Return the coconut pulp to the blender and add the remaining 1/2 cup of hot water.
  7. Blend for 1-2 minutes, strain and press through the cheesecloth into the bowl.

Makes about 1 cup

click link for entire article and video

http://www.freecoconutrecipes.com/index.cfm/2009/12/11/homemade-coconut-milk

COCONUT WHIPPED CREAM

Image


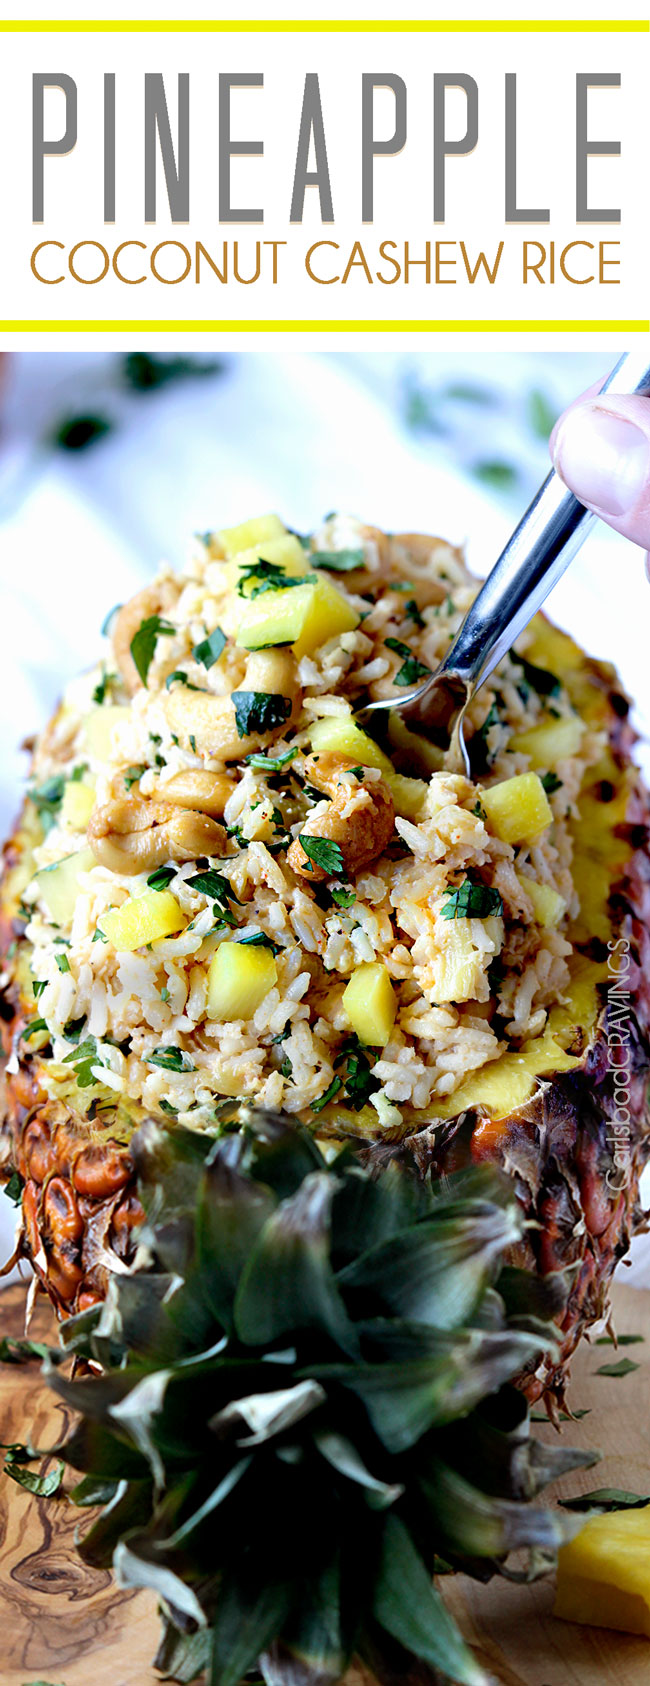
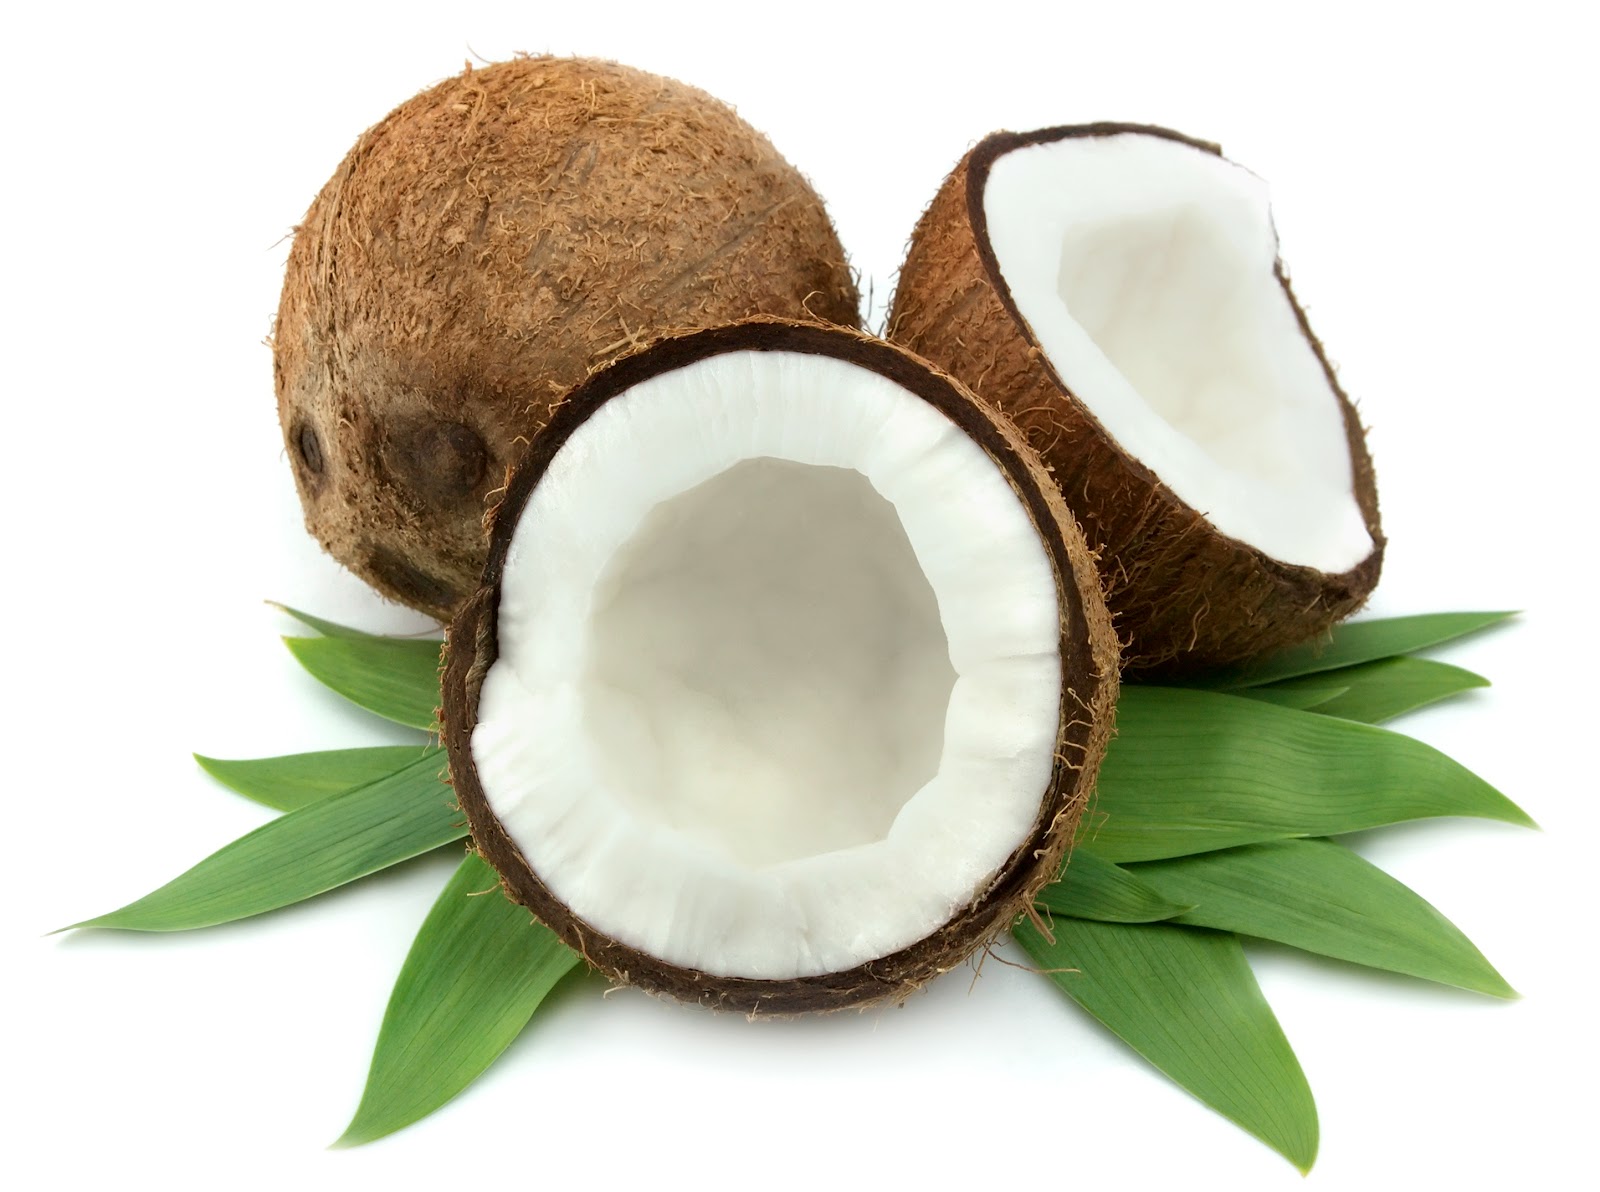
I’ve heard from a lot of people that making coconut whipped cream has proven to be a serious challenge – often times they can’t get the coconut milk fat to separate from the water, even after the can’s spent a good 24 hours in the refrigerator. Unfortunately, this has little to do with your cooling chamber and a lot to do with the stabilizers used to keep the coconut milk fat suspended in the liquid; the ingredients in some cans just won’t allow the two to separate.

Stabilizers aside, the other culprit is too much air – which you can avoid by picking up the can of coconut milk and giving it a gentle shake. If you can hear the liquid sloshing around, you need to put it back on the shelf – chances are this can is a dud as far as making coconut whipped cream is concerned. What you need to listen for is a small pocket of air that moves around, making a soft gurgley sound. This method has proven to be effective in finding cans of coconut milk that encourage milk fat separation. In other words, it’s never let me down. Not once.

If you don’t feel confident in your ability to differentiate between sloshing and gurgling, Thai Kitchen will be your best (and safest) bet. In my experience, it’s the only brand of coconut milk that has consistently produced good quality whipped cream. If you’re rolling your eyes because their cans are lined with BPA – I knooow. It pains me, but I suck it up and buy it because I’m not a fan of buying $2 cans of coconut milk that yield separation only 50% of the time. Which is what usually happens when I bring home Native Forest coconut milk with high hopes of turning it into whipped cream. When in doubt, buy a few different cans and experiment to see which brand works best for you. But for the love of Buddha, do not try to speed up the process by freezing the can. You’ll be left with a solid block of coconut milk and a half-exploded can. Not that I know from experience, or anything.

Update: The issue with Native Forest coconut milk appears to be the source. Milk sourced from Thailand typically separates, while the milk sourced from Sri Lanka usually does not.

for the rest of the article and TONS of photos:  please click this link: http://www.ohladycakes.com/2013/05/how-to-make-coconut-whipped-cream.html

Homemade Coconut Milk – The Recipe to Remember | Crunchy Betty

coconut milk

WAIT! Even if you’ve decided you hate coconut milk (for whatever ungodly reason), you’re going to want to remember this post. This recipe. Because drinking it, eating it, and cooking with it isn’t all you can do. In fact, tomorrow I have a super secret special surprise about what you CAN do with it that doesn’t involve tasting it in any way. (Want to know what that is? Make shampoo with coconut milk and castille soap! Here are the instructions. Enjoy!)


Homemade Coconut Milk – The Recipe to Remember | Crunchy Betty.